Right, another quick blog post before I have to go into Morley College, and teach stop motion again- luckily this evenings lesson is all about...Armatures! So I've done enough research for this one, I feel...
So below you see RIG without his arms- insert 'armless enough' Joke here- You can also see the magnet that supports the hip facia revealed in this shot too...
Above is the weapon and hand arms detatched from the body- I'm goint to redesign these to include shoulders- but keep the spring detailing on the upper arm that I feel works well as an overall design concept- another of the 'design choices' in this project is 'repeating geometric patterns'- lots of circles, cubes, lines, hex and octagonal shapes wherever possible- and the springs reinforce that, I feel.
The Hip area of RIG in close-up- you can see the magnet now clearly, and the hex tops of the allen key joints used at the hips- I wish I could get more of these joints! They are really nicely tensionable, and support a good deal of weight without protesting...I think the joints are seated within a carbon fibre enclosure, and aside from needing carving slightly to allow a larger range of movement, they are really good to begin with...I'd love to find a wholesale supplier for these joints.
Extra Detail of the gun arm- as I mentioned, sourced from the top of a dead lamp- the switch moves too, I may have RIG operating the switch with his other hand to change weapon 'modes'- such as laser, flamethrower, etc.
Further basic construction shots- here you see the basic foundation Rig was built from, basically a metallic lampshade- someone on' the street of plenty' threw away a lamp that had three of these on it.
Drill through and insert a threaded rod that runs across the diameter. This isn't actually Rig, but another torso I've just started assembling- he may have fellows eventually.
This is the facia for RIG's lower stomach- you can see it below magnetically attached in the chest area.
Poor Old Rig, don't worry mate, you'll be walking the station again soon, I promise!
The removable magnetically attached face section of ROD.
ROD shown from the side so you can see his Loc Line spine- embellished with SUGRU rings, that makes it look more spine-like, and also easier to handle for major spine shifts- you can probably also see the K and S brass tubing in his shoulder area for rigging him- the rear of this puppet is still being finished and painted.
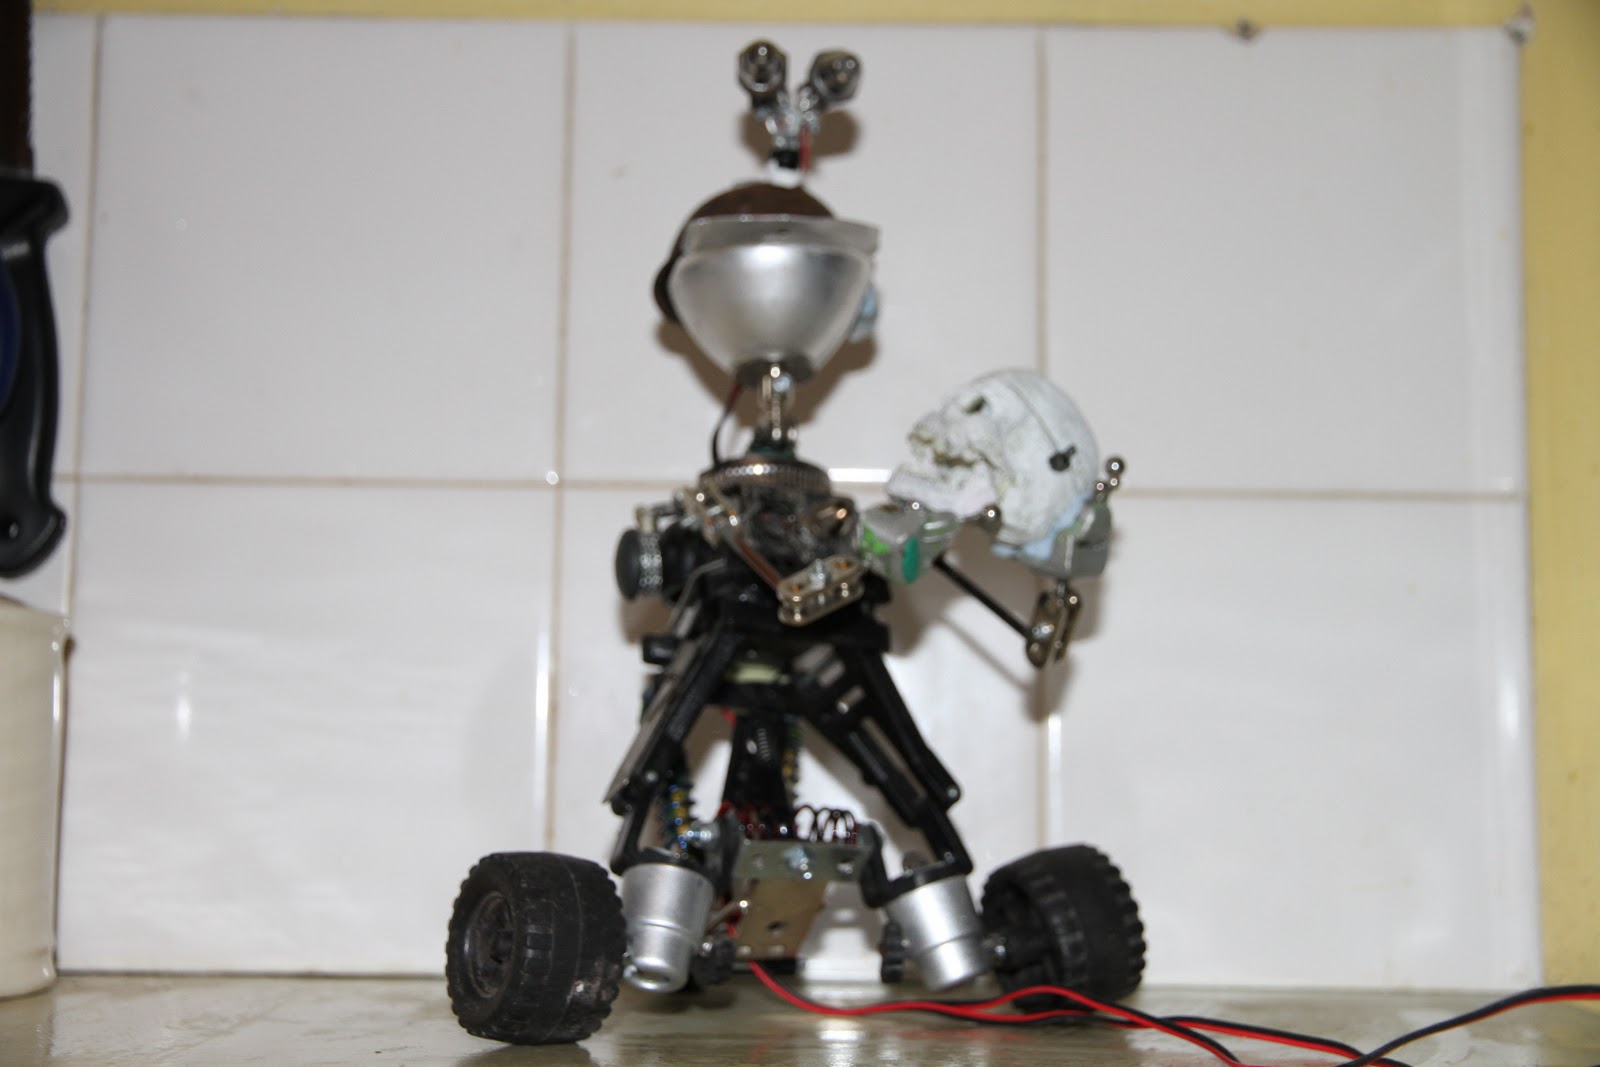
A nicer shot of SPARK, with his little Skull, he was built from so many disparate bits and pieces, it is hard to remember where all the bits were from! His lower jaw was part of a lamp housing, the upper jaw was from the base of a leg section on a rusty barbecue that was rotting in the garden. The eye stems were part of a mini tripod- we found the eyes on a market stall, and bought them for 20 pence! We have no idea what they were for originally...
His body- torso section was built primarily from a souvenir mini coffin collectors tin I was given that was 'The Nightmare before Christmas' merchandise- how appropriate is that??
I liked the coffin like shape, and the fact we were getting away from rectangles with him...It also means you can open up his body easily, and store more electrics/ mechanics away inside.
The wheels were from a kids car toy- the axles are from the head of a mini tripod, and have a ball jpint built into them- so he can stand on tip toe by using these joints, if needed...
The frame around his body is a concoction of hinged sections from various remote control cars- and means he can sway from side to side- incline himself forward, and do other subtle body shifts that can convey a lot of emotion- He is really surprisingly pliable, and also a gift to animate, because he doesn't have to walk!
His hands are culled from Stikfas animation figures- I think- certainly some sort of plastic heavy footed animation figures I bought a long time ago...edit: they were 'Poze'em' figures.
They are really chunky n nice, with extended body piercing bar bells as fingers- and a hidden magnet fixed into his palms, for holding objects. The arms I'm unhappy with, and intend to improver on yet- in the tests done so far, his arms did not really have enough range of movement.
SPARK separated into his two sections- you can see the Coffin shape of the tin box much clearer here.
Give us a twirl, SPARK, Love!
Detail around the rear of the wheeled base- the springs were also from remote control cars- If there's one thing I've learned over the last year, it is DO NOT THROW ANYTHING AWAY!
He can also raise up on his rear wheel here, so he would incline forward...
The Gang altogether, to give a sense of their relative heights
This is the stuff that has allowed me to do most of this, whilst waiting for the real metal working tools and workshop to do it all right...Milliput, JB weld (cold welding glue) and more recently SUGRU which has many useful applications for the animator.
Right, I'll have to leave it there for today, College beckons- thanks for all those who have taken a look and commented already, and please also note I have now enabled Comments for this Blog, so if you've got anything constructive to say- advice even- please step forward!


Just to confirm - these robots look great! You've done a blinding job with all the bits and pieces, it's really effective. You're onto a winner!
ReplyDelete